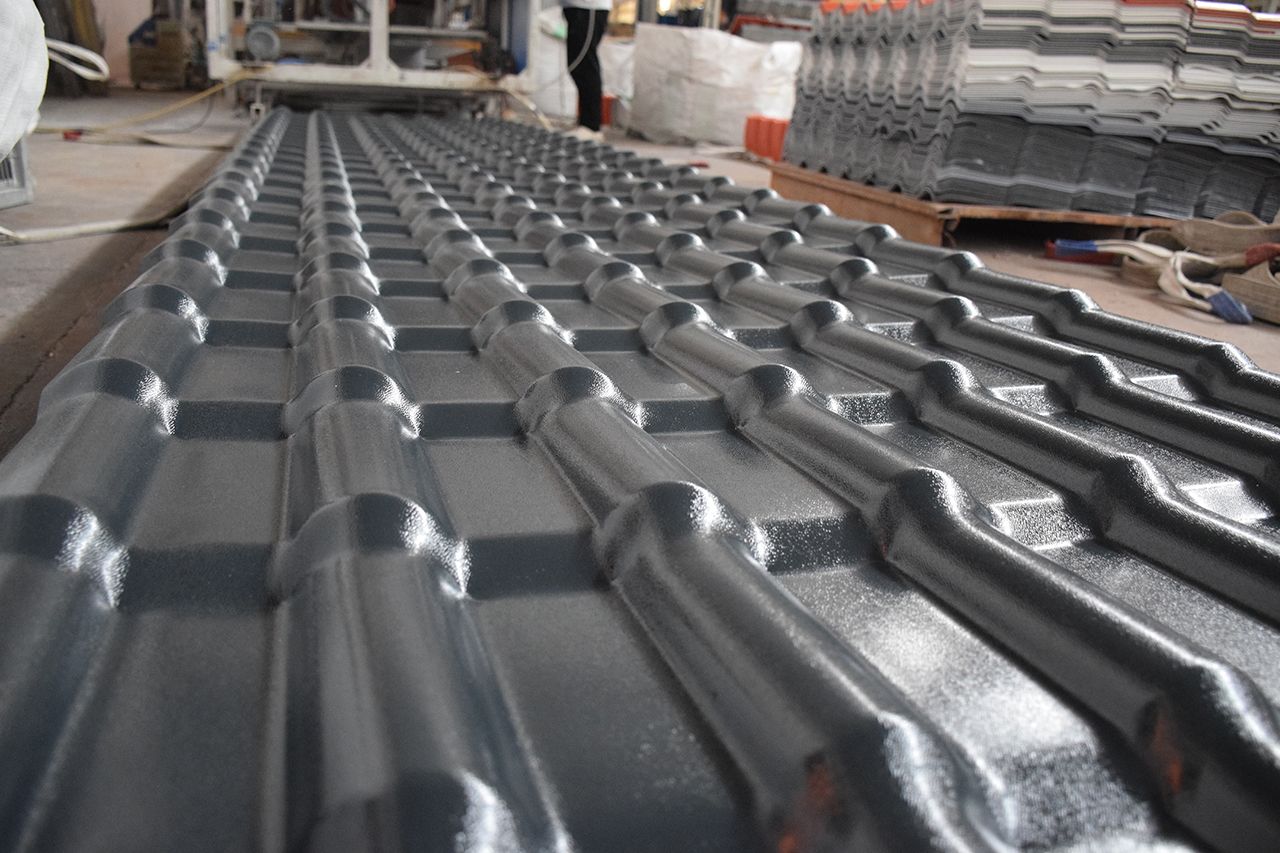
We just had resin shingles installed on our house, so why is our neighbor’s house leaking?
Over the past two months, quite a few households in our neighborhood have been working on their roofs. Some went for cheap color-coated steel roofing sheets, only to have them rust; others, looking to save time, hired fly-by-night contractors, and now their homes are filled with buckets of water whenever it rains. As for me, I spent three months watching the installation of synthetic resin tiles, and finally bit the bullet and switched to the pitched roof style from my hometown. To be honest, it looks simple, but there’s a lot more to it than meets the eye. If you just look at those nice finished photos online, you’d never know that the real craftsmanship lies entirely in the roof trusses and joints—the parts you can’t even see.
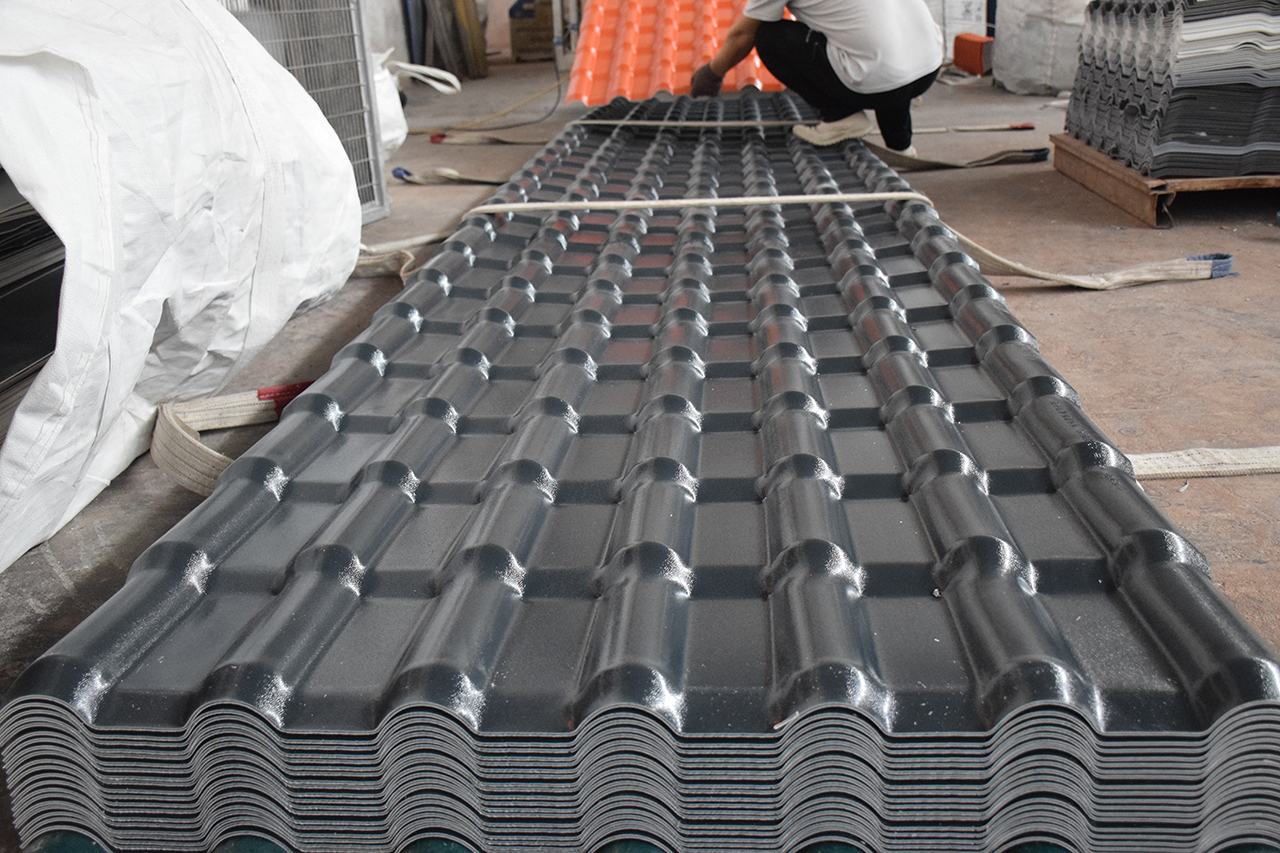
Three Key Points You Must Understand Before Installing Synthetic Resin Tiles
Many people think that once they’ve bought the shingles and laid them on the roof, the job is done—but this idea is utterly absurd. In fact, the success of synthetic resin shingle installation largely depends on the preparatory work. First, have you considered the roof pitch? Under standard installation conditions, the slope must not be less than 20 degrees. If the slope is too gentle, rainwater cannot drain completely, making leaks highly likely to occur later on. Second, the spacing between purlins must be precisely controlled within the range of 660 to 880 millimeters; even a one-centimeter deviation can cause problems with the tile overlaps. Third, and this is often overlooked—have the tiles you purchased undergone anti-aging testing?
At a construction site I once witnessed, a foreman, just to save himself some trouble, widened the spacing between the purlins to one meter. Soon after, the first heavy rain fell, and the roof actually caved in between the tiles, allowing rainwater to pour straight into the house through the gaps. The homeowner was so furious at the sight that he kept stomping his feet, but the damage was already done—they had no choice but to tear it all down and start over. So, you need to remember: installing synthetic resin tiles isn’t something you can rush to meet a deadline. You have to lay a solid foundation from the start; that way, you’ll have peace of mind for at least the next ten years.
How to Achieve the Most Durable Results on a Budget
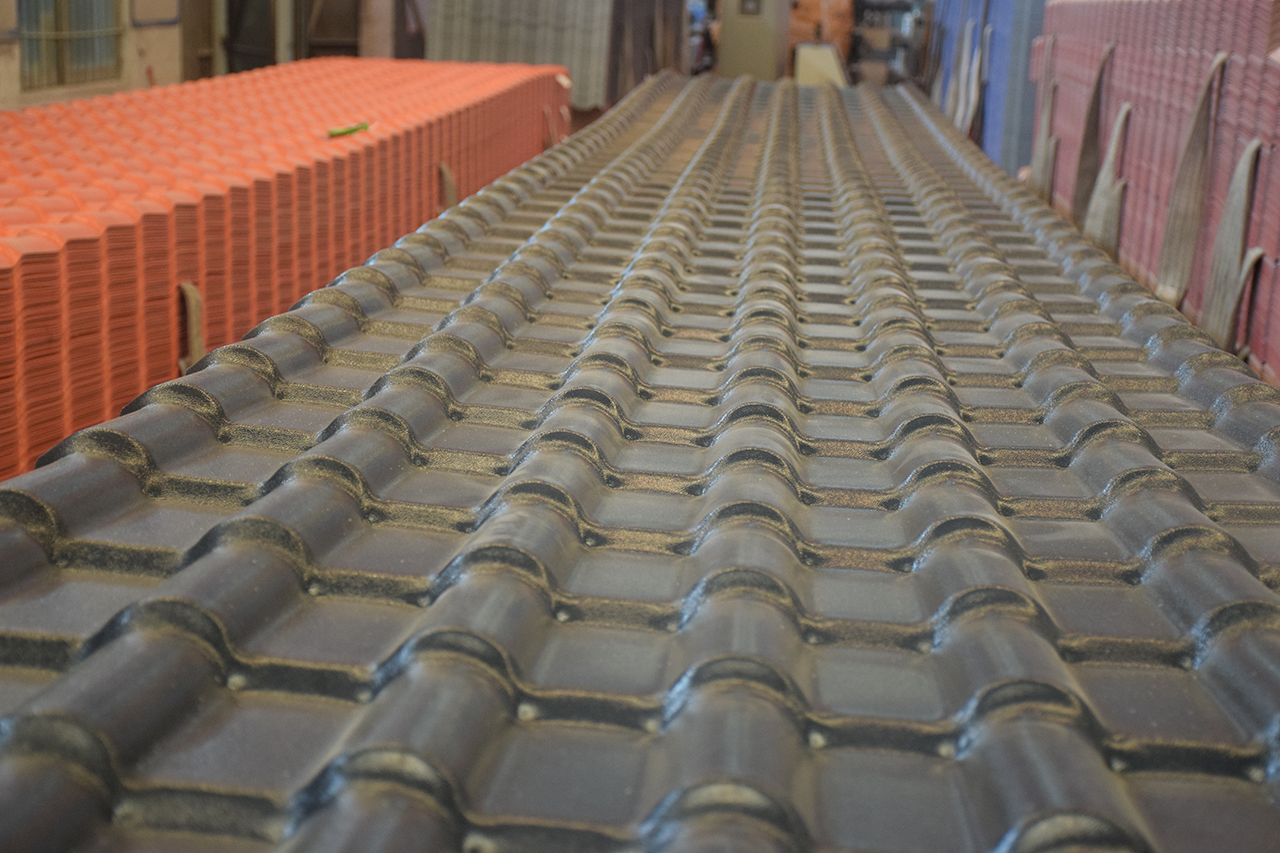
This is likely the issue you’re most concerned about. To be honest, the cost of installing synthetic resin roofing tiles varies widely. However, you should never cut corners on critical aspects. First, regarding the main materials: don’t simply chase after rock-bottom prices. Tiles that are at least 3.0 millimeters thick and meet national standards are the reliable choice. Tiles that are too thin will wobble when stepped on. Second, regarding auxiliary materials: self-tapping screws must be equipped with waterproof washers, and specialized sealant must be used at the overlaps. If these details are not handled properly, the cost of a single repair down the line could easily cover the price of several boxes of screws.
I also need to warn you about a potential pitfall: some installation teams offer quotes that are absurdly low, only to tell you after you’ve signed the contract that this item isn’t included, and that item isn’t included either. For example, ridge caps, eaves, and end caps—if these aren’t clearly specified in advance, the additional costs later on will drive you so crazy you might have a heart attack. I fell into this trap myself back then, but I’ve learned my lesson since. Now I make sure every single item is clearly spelled out in writing in the contract—even down to the exact model of screws to be used.
Here is what a reliable installation process looks like: First, securely install the pressure-treated wood purlins. Next, lay the waterproof membrane on top of them. Then, starting from the lowest point of the eaves, lay the shingles upward, ensuring that each shingle overlaps the next by at least one ridge and that the horizontal overlap is no less than 100 millimeters. Finally, install the ridge tiles and eave boards, ensuring that all screw holes are sealed with caulk. The entire process may seem incredibly complicated, but every step is essential. Think about it carefully: if your roof ever starts leaking, the trouble you’ll face will be ten times worse than the effort required during installation.
The roof is a home’s first line of defense. If you’re spending millions on a house, why would you hesitate to invest a little more time and effort in installing synthetic resin shingles? Are you going to wait until the day it pours with rain to start regretting it? You need to get this right now so that every day from here on out can be a sunny, worry-free day.