What exactly is the difference between the installation methods for resin shingles and clay tiles?
Many people think that roof tiles just need to be laid down, but in reality, there are significant differences between the installation methods for resin tiles and clay tiles. If you choose the wrong one, you’ll have to deal with the consequences of leaks, cracks, and tiles falling off for the next five years. Resin tiles rely on a lightweight structure, interlocking fasteners, and self-tapping screws for securing, while each clay tile must be bonded with mortar and supported by battens—the preparatory work alone can keep you busy for three days. If you’re struggling to decide between resin and clay roof tiles, make sure to commit every word below to memory—because the foreman won’t tell you any of this.
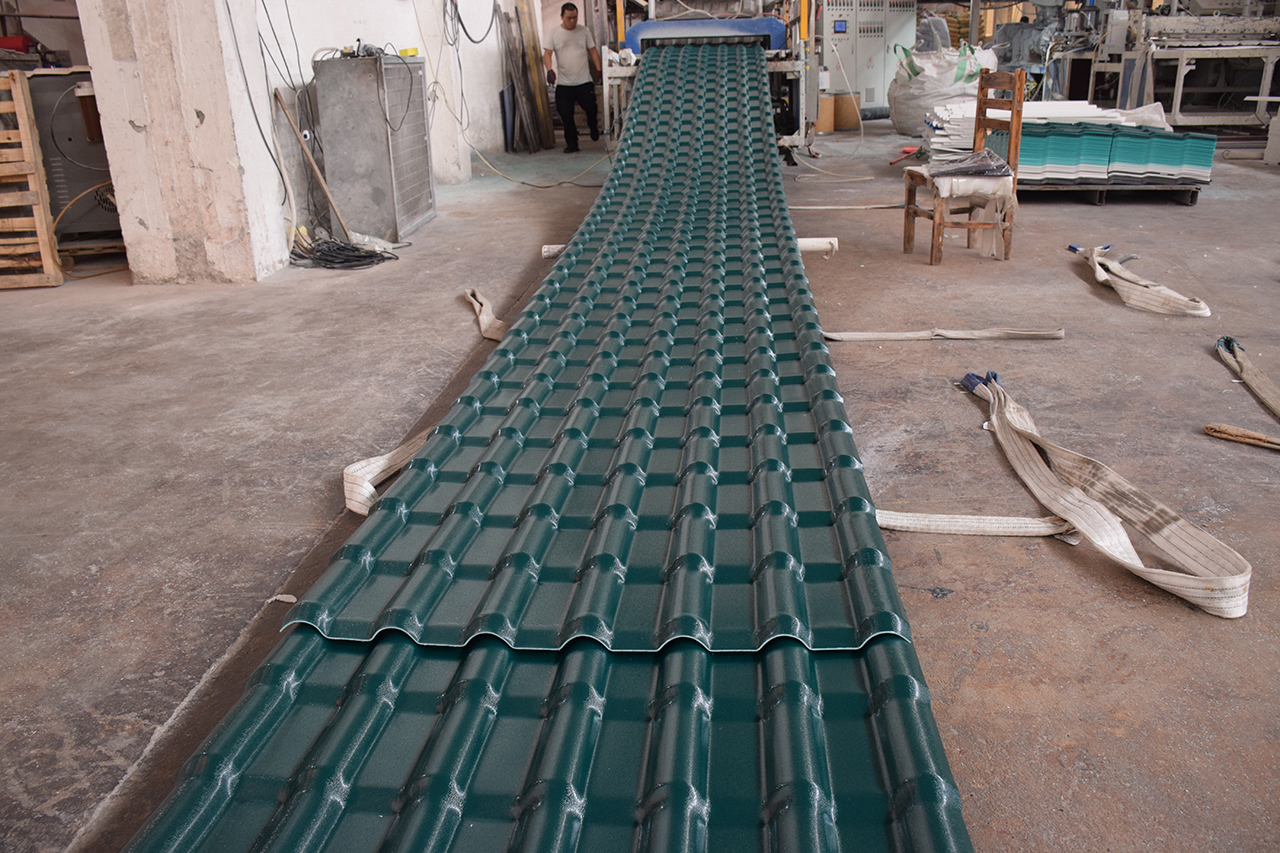
Just How Hassle-Free Is Installing Resin Roof Tiles?
Don’t let the phrase “low-maintenance” fool you—the installation process for resin roofing tiles actually involves many subtle details. First, the key to installation is the “cold-lay method,” which requires neither cement nor mortar but relies entirely on the overlap width between the tiles and specialized fasteners. You’ll need to drill holes in the purlins using an electric drill, then insert screws with waterproof washers. The horizontal overlap length for each resin tile must be kept between 15 and 20 centimeters, and the vertical overlap must be at least 10 centimeters. What many people don’t realize is that the screws must not be tightened too much; otherwise, the tiles will crack due to thermal expansion and contraction. I once saw a home where the workers, to save time, had tightened the screws too much; as a result, after a spell of high temperatures in the summer, the tiles cracked, forming a pattern that looked like a spider web. The installation method for resin roofing tiles imposes strict requirements on the spacing of the purlins; the spacing between main purlins must not exceed 66 centimeters, otherwise the tiles will deform when stepped on. Remember, the biggest mistake you can make when installing resin roof tiles is to prioritize speed above all else. Whether it’s the placement of screws, the size of the overlaps, or the eave drip edge treatment—if you cut corners or neglect any of these steps, you’ll end up spending money on repairs within two years.
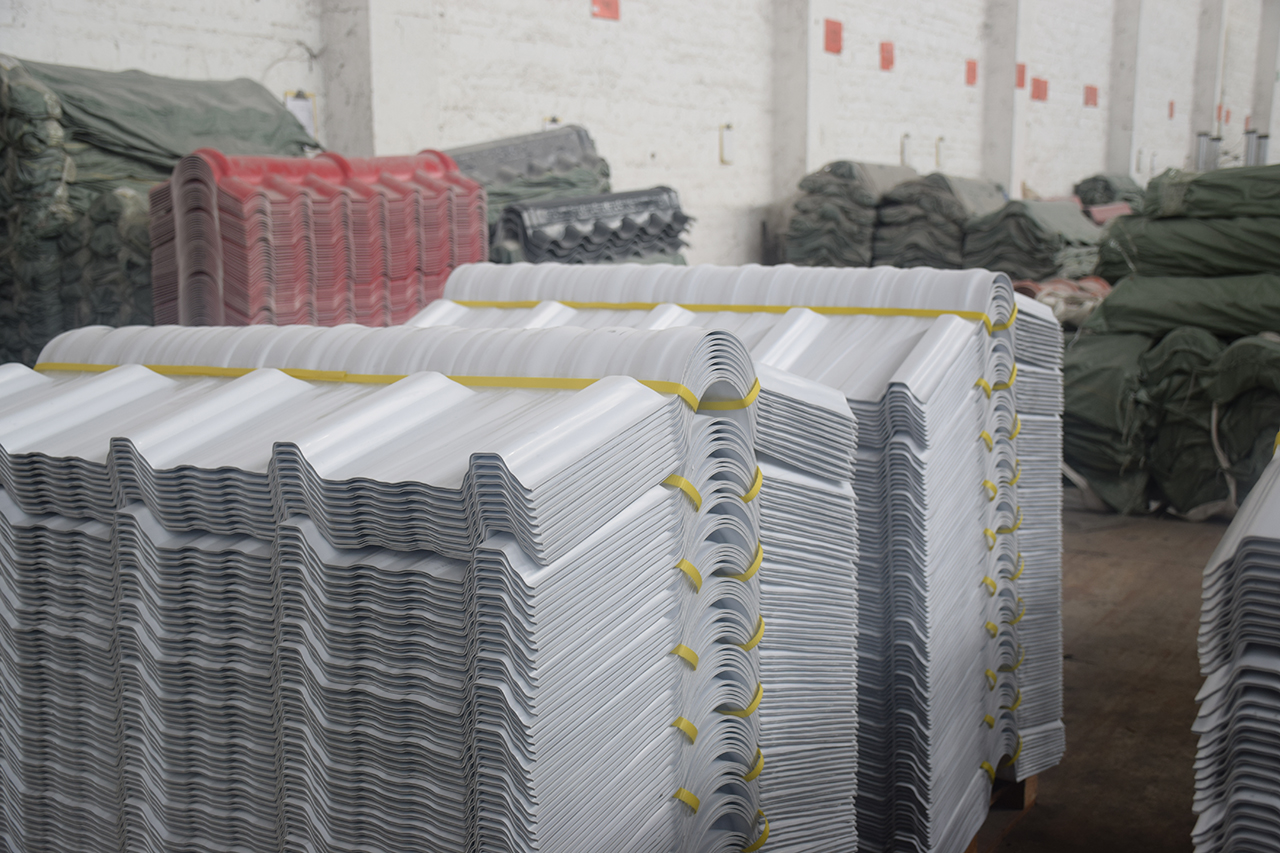
Why Is Installing Clay Tiles So Frustrating?
Installing clay tiles is, quite frankly, a double ordeal that tests both your physical strength and patience. Each clay tile must be secured using tile battens, which in turn must be propped up with drainage strips to create an air gap—only this way can ventilation and drainage be ensured. What makes it even more troublesome is that installing clay tiles requires cement mortar. You have to use the mortar to firmly adhere the bottom of each tile, and then tie the tiles to the battens with copper or iron wire. Just think about it: a 200-square-meter roof requires at least 2,000 tiles, and each one must be tied in place by hand, coated with mortar, and adjusted for levelness. When it’s hot, the mortar dries very quickly, so you have to keep spraying water on it; when it’s cold, the mortar freezes, which directly delays the project schedule. Furthermore, the installation method for clay tiles places extremely high demands on the roof’s slope—slopes less than 30 degrees are simply unsuitable, otherwise rainwater will seep back into the gaps between the tiles. I’ve seen the most extreme example at a construction site: after the workers laid the clay tiles, they failed to check whether the mortar was fully saturated. The following year, when a torrential rain hit, the tiles slid off one by one, just like dominoes. If you’re set on choosing clay tiles, you need to be mentally prepared: installation costs are more than twice as high as those for resin tiles, and when it comes to maintenance, replacing a single tile might require prying open five surrounding tiles just to access it.
There are two types of roof tiles: resin tiles and clay tiles. They are installed differently; installing resin tiles requires precision, while installing clay tiles requires patience. Resin shingles are installed using scientific overlapping techniques and screw fasteners, while clay tiles rely on traditional mortar and tying methods. Which type of shingle you choose ultimately depends on your tolerance for time, budget, and maintenance frequency. Resin shingle installation can be completed in three days, whereas clay tile installation takes at least a week to begin. Don’t be misled by claims that “clay tiles have a certain texture”; behind that so-called texture lie hidden installation costs and the hassles you’ll encounter during maintenance.