Choosing the Right Tools
Before beginning the installation of synthetic resin roofing tiles, selecting the appropriate tools is a crucial step. Make sure you have all the necessary tools, such as an electric drill, screwdrivers, and measuring tools. These tools not only improve installation efficiency but also ensure accuracy. In addition, safety equipment must not be overlooked: such as gloves and hard hats, which, together with the tools and supplies mentioned above, help ensure safety throughout the work process.
Before beginning the installation of synthetic resin roofing tiles, selecting the right tools is a critical step of great importance. Make sure you have all the necessary tools on hand, such as a power drill, screwdrivers, and measuring tools. These tools will improve installation efficiency and ensure accuracy. In addition, safety equipment—such as gloves and hard hats—must not be overlooked to ensure safety during the installation process.
Detailed Installation Instructions
Step 1: Preparations
Before installation, the roof must be thoroughly and carefully cleaned and leveled to ensure that there are no obstacles or damaged areas on the roof. This step is crucial because it directly affects both the stability of the subsequent installation and its aesthetic appearance.
Step 2: Laying the Subfloor
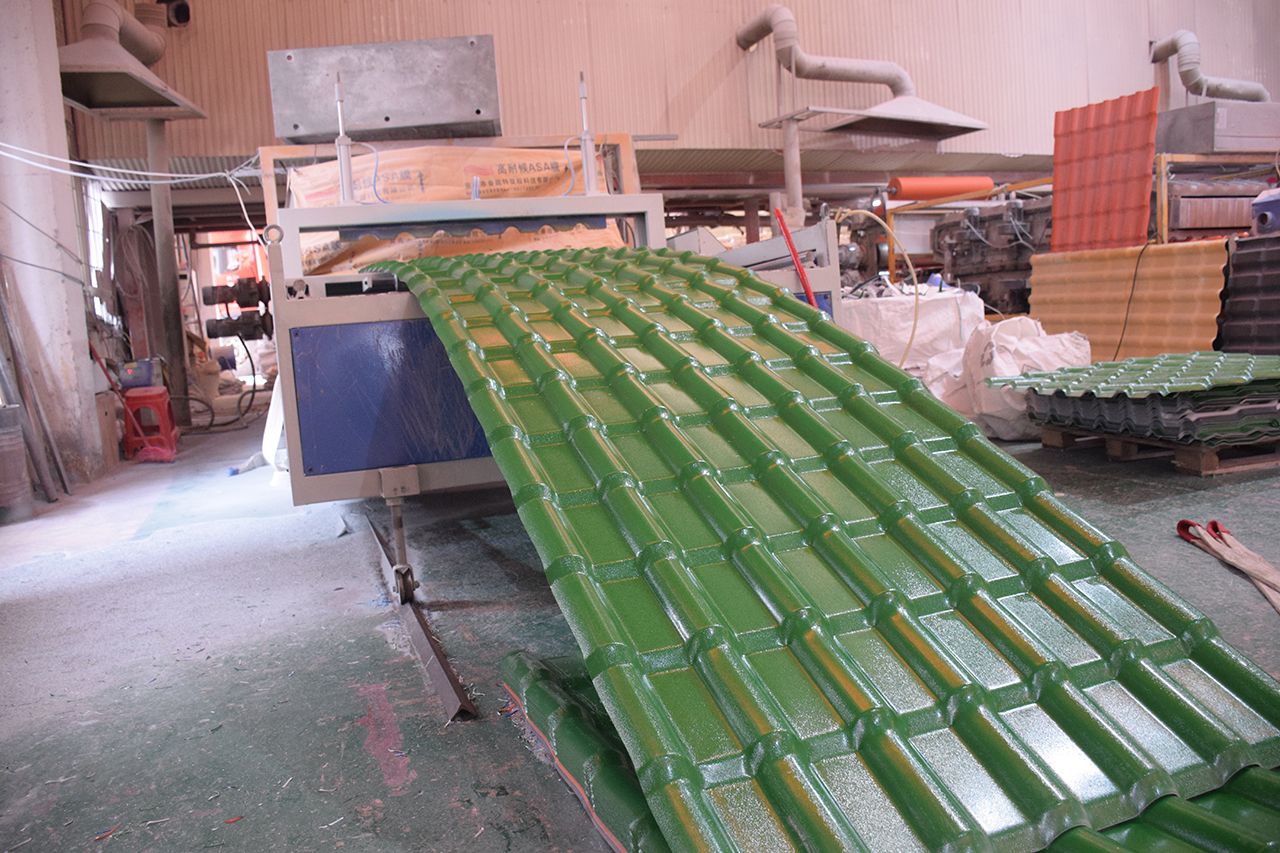
Based on the exact shape of the roof and the actual condition of the structure, install an appropriate underlayment. The underlayment must be compatible with the synthetic resin shingles to ensure optimal waterproofing performance and load-bearing capacity.
Step 3: Secure the Tiles
First, the synthetic resin shingles must be securely fastened to the substrate in the predetermined order. During the installation process, you must select screws and washers that are just the right size, to ensure that each tile fits snugly against the substrate. At the same time, care must be taken not to overtighten the screws, as this could potentially damage the tiles.
Step 4: Check and Adjust
After completing a series of steps, we move on to the critical fourth step: the inspection and adjustment phase. At this point, we must conduct a comprehensive inspection of all aspects of the entire process with the utmost care and rigor. Verify each piece of data individually to ensure its accuracy and confirm that every step complies with established standards and specifications. Pay attention to even the smallest details to ensure that no factors that could affect the final outcome are overlooked. During the inspection, if any issues or deviations are discovered, take prompt corrective action. By flexibly applying various methods and techniques based on the actual situation, precise corrections can be made to address the issues that arise, thereby ensuring the smooth operation of the entire process and achieving the predetermined goals and outcomes. Through this critical step, the quality and reliability of the entire project or task are further enhanced.
After installation is complete, carefully inspect the position of each tile and how securely it is fastened. If any adjustments are needed, take the appropriate steps to make them, ensuring that the entire surface appears level and secure.
By following the clear, step-by-step instructions above, you’ll be able to successfully complete the installation of synthetic resin roofing tiles. Remember, patience and attention to detail are the keys to success throughout the entire installation process. If you encounter any problems or difficulties during installation, we recommend consulting a professional or referring to the detailed installation guide for solutions.
Keywords: Synthetic Resin Roof Tile Installation Guide